 Queen's Domain Map
Map / Isle of Neasied
Isle of Neasied
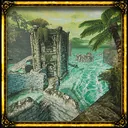
The starting island and the hub every later region loops back to. You land on the beach, take the Rusted Short Sword from Commander Ekonta's camp, earn the Holy Sword Endu at Endu Shrine and light the gargoyle beacons that open the Tower of Knowledge.
- Way in
- Start of the game (shipwreck beach).
- Leave with
- Holy Sword Endu (Wind Gem #1), Dagger Belt, Azure Torch, Wind Gem #2, beacon #1 lit
- In the 100% tracker
- 46 entries: Crystal Monuments & Wing Altars: 4, Bosses: 1, Wind Gems, lenses & key items: 6, Main weapons: 12, Throwing weapons: 3, Accessories: 2, Orbewa Eggs: 3, Duck figurines: 1, Lost books: 2, Treasure vaults: 1, Strange Silver Etched Skulls: 6, Hidden Bestiary entries: 5
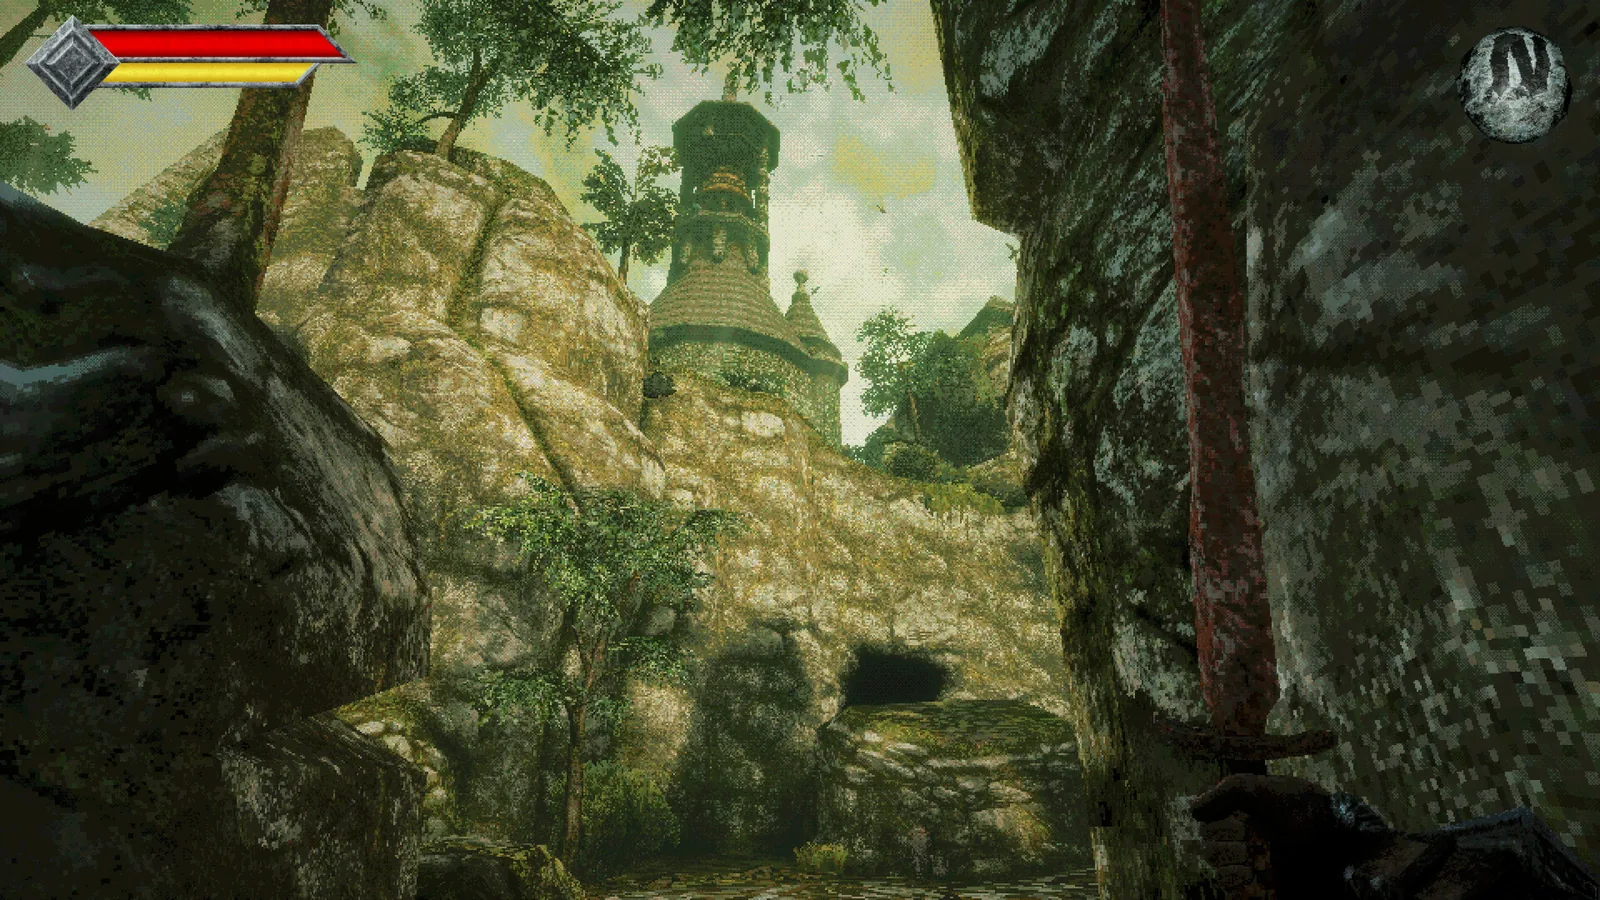
Route through Isle of Neasied
- From the beach, climb the northern slope to Commander Ekonta's camp and take the Rusted Short Sword. Break the wooden barricade and activate the Knight's Encampment Crystal Monument.
- Go uphill, take the first right through the rock gap, then right again to the two small islands on the coast. Jump to the far island for the Dagger Belt: three recharging Throwing Daggers that drop Forest Eyes in one hit.
- In the ruined tower chest take the Rusted Spear. Climb northwest, throw a dagger into the diamond socket to open the cave door, and loop through the Underground Dungeon (crypt) for the shrine key; the Wooden Club is down here.
- Cross the mossy stone causeway to the single broken arch: that is Endu Shrine. The Shrine Guardian (260 Life) is weak to Impact, so bring the Wooden Club. Win the Holy Sword Endu and its Wind Gem, your first air dash.
- North of Knight's Encampment, air-dash to the platters for Broiled Meat (permanent Attack) and Roasted Poultry (permanent Life). Follow the eastern road and activate the Cemetery Precipice monument.
- From Cemetery Precipice cross north to the glowing gargoyle at the Tower approach and take the Azure Torch.
- Climb the rubble road north and west and air-dash into the small towers for Wind Gem #2. Past the blue lantern, dash to the broken stairs, clear the skeletons and fire the Azure Torch into the gargoyle mouth: beacon #1.
- With two dashes, cross the southwest broken bridge and activate Aganmi's Camp beside Obmuer Temple.
Come back later for
- After Obmuer gives you a third dash: the Orbewa Egg on the Cemetery Precipice steps and the last Isle beacon.
- Chakram from the mimic chest on the left return route.
- Golem Arm Crusher from the hidden Mossy Golem on the cliff above the opening beach.
- Wodaso Lens: with all five Wind Gems, go to the Mossy Golem cliff where the Golem Arm Crusher drops. Dash to the Star Lizard islet, on to the chef's chimney islet, then to the outer islet; Wodaso's circular house on its beach holds the Wodaso Lens in the chest inside, with Silver Skull 4 on the roof.
- Wodaso Temple Keeper: take the Strange Stone Block from the central pillar of the underground temple below Cemetery Precipice (drop off the cliff by the grave that opens the stairs and dash into the hidden nook). At the diamond-shaped door in Deimpo Mausoleum, with Wodaso's Lens equipped (it shows purple light streams from each switch), two levers light two torches and the block thrown at the indented third block of the middle pillar behind the giant statue lights the third; the Keeper (1,500 Life, weak to Pierce) comes out, and placing the block on the altar behind it forges Wodaso's Power Cube.
Crystal Monuments and Wing Altar
- Knight's Encampment: At the starting camp: break the wooden barricade on the path out of Commander Ekonta's camp. The monument stands right behind it on your left; it is the first monument of the game.
- Cemetery Precipice: From Knight's Encampment follow the eastern uphill road; at the later fork take the left branch and dash across the gap to the graveyard. The monument stands by the gravestones on the cliff.
- Wing Altar - Isle of Neasied: Activates by itself the first time you use any Wing Altar (normally the Obmuer one after Dagoom). It stands beside a tall spire with a Grilled Fish platter beside it, above the underground Halls Shrouded in Darkness.
- Halls Shrouded in Darkness (Underworld): Underworld, below the Isle: from the big bridge to the Mausoleum drop into the round stone enclosure on its left, turn back across the poison pit to the brazier. Go left to the pillar-ringed room and ride its lift to the top.
Bosses
| Boss | Life / ATK / weak to | Where and how |
|---|---|---|
| Shrine GuardianIsle of Neasied | 260 Life, 18 ATK Impact | Endu Shrine: from the Dagger Belt coast cross the short mossy stone causeway over the turquoise water to the single broken arch. Open the gate with the Endu Shrine Gate Key from the bottom of the Crypt.Weak to Impact, so take the Wooden Club. Circle around its committed swing and spend the recovery window on a charged Impact hit. |
Weapons found here
| Weapon | Type / power / speed | Where |
|---|---|---|
| Rusted Short Sword | Slash 7 Avg | Your starting weapon: Commander Ekonta hands it over at the campfire on the beach before the wooden barricade and the Knight's Encampment Crystal Monument. |
| Rusted Spear | Pierce 5 Fast | From the Knight's Encampment monument, follow the slope on its right to the end and turn right; the chest is inside the ruined tower. |
| Wooden Club | Impact 10 Slow | Crypt below the Knight's Encampment (open its door by throwing a dagger at the diamond switch): go straight to the end, turn right, chest. |
| Rusted Longhammer | Impact 8 Slow | Cemetery Precipice: walk round behind the small tomb building, enter the broken hole, pull the lever to open the floor hatch and go down; the chest is inside. |
| Rusted Great Morning Star | Impact | Velvet vault, Underground World below the Isle: from the Halls Shrouded in Darkness monument ride the elevator down; the vault is past the two pillars. Way in: cliff cave across from the Isle Wing Altar, drop down the hole, hidden door. |
| Holy Sword Endu | Slash Avg | Endu Shrine: from the Dagger Belt coast cross the mossy causeway to the single broken arch, beat the Shrine Guardian and take the sword from the altar beyond. |
| Jar Club | Impact 10 Slow | Back at the tower in front of the Knight's Encampment monument, air-dash to the jutting rock on its left; the club is stuck in the ground. Breaks at Lv. 5 into the Symbol of Jigeki. |
| Pandora Blade | Slash 5 Avg | Crypt below the Knight's Encampment, bottom level: turn right and open the hidden wall where a brazier is missing beside a broken pedestal, near the Endu Shrine Gate Key room. |
| Black Diamond Claw | Underground World below the Isle: from the Halls Shrouded in Darkness monument go down to the Silver Skull on a stone block two floors below the top; the hidden wall left of it hides the claw. | |
| Golem Arm Crusher | Cliff above the start beach, past the Cemetery Precipice Wind Gem: kill the buried Chilopoda and hit the mossy stone on the ground with an Impact weapon; the Mossy Golem drops it (not guaranteed every kill). | |
| Gius's Judgement | Chest at the Knight's Encampment, opened with the Knight Expedition chest key that lies on a bag at the top of the Deimpo Mausoleum's giant spiral stairwell. | |
| Azure Torch | Azure Flame 14 Slow | From Cemetery Precipice cross the broken bridge north to the Tower of Knowledge door; the glowing gargoyle in front of the door holds the torch. |
| Throwing Dagger | Physical 3 Fast | Dagger Belt: from the Knight's Encampment go uphill, take the rock gaps right, and jump to the farther of two small rock islands off the coast near the shipwreck; it hangs on a branch. |
| Chakram | Slash 4 Fast | Isle of Neasied, route from the Knight's Encampment toward Cemetery Precipice: the chest opposite the iron gate, below the building whose middle floor has a Roasted Poultry. A mimic chest is nearby. |
| Mystical Nut of the White Tree | Physical 3 V. Slow | Knight's Encampment shortcut: hidden wall in the bushes on the right (Roasted Poultry room), through the Trident Key door to the door that needs all five keys; beat the White Tree Guardian. |
Enemies in Isle of Neasied
Stats from the in-game Bestiary. Weak to = takes extra damage from that type.
| # | Enemy | Life | ATK | EXP | Weak to | Drops | Where |
|---|---|---|---|---|---|---|---|
| 1 | Ratty Bug | 35 | 10 | 26 | Slash | Dried Herbs | Paths around the Knight's Camp |
| 2 | Chicket | 30 | 15 | 42 | Pierce | Dried Herbs, Ancient Coin | Coast return route |
| 3 | Forest Eye | 1 | 20 | 10 | – | Roasted Ojum Lizard | Dagger Belt approach (killed instantly with a thrown dagger) |
| 4 | Meganeura | 25 | 12 | 22 | Slash | Brawler's Berries | Early coast |
| 5 | Skeletal Fighter | 60 | 21 | 78 | Impact | Dried Herbs, Ancient Coin | Cave/dungeon paths |
| 6 | Skeletal Archer | 40 | 17 | 90 | Impact | Dried Herbs, Ancient Coin | Cemetery and bridge routes |
| 7 | Chilopoda | 75 | 19 | 129 | Pierce | Elixir, Ancient Coin | Coastal caves (poisonous) |
| 8 | Coelacuda | 70 | 20 | 140 | Slash | Ancient Coin, Iron Pineapple | Flooded routes |
| 9 | Mimic | 500 | 114 | 1237 | – | Silver Ratty Bug Figurine, Steel Ale | Isle of Neasied: a chest at the foot of the central tower, reached by riding the elevator up and following the small side path. Drops Silver Ratty Bug Figurine or Steel Ale. |
| 10 | Star Lizard | 50 | 0 | 13 | – | Filthy Loot Sack | Isle of Neasied: e.g. on the rock above the crypt, by the tree left of the Cemetery Precipice monument, right of the tomb there. Chase it at once; it drops a Filthy Loot Sack. |
| 11 | Shrine Guardian | 260 | 18 | 450 | Impact | Boss at the Endu shrine: the single broken arch at the end of the mossy causeway past the Dagger Belt coast. | |
| 12 | Grave Guardian | 1333 | 60 | 2500 | Impact | Grand Elixir | Cemetery Precipice: go round behind the small tomb building (one skeleton inside), enter the broken hole and pull the lever; the hidden stairs lead to it. |
| 13 | Mossy Golem | 650 | 41 | 900 | – | Ancient Coin, Golem Arm Crusher | Cliff above the start beach, past the Cemetery Precipice Wind Gem: kill the buried Chilopoda and hit the mossy stone in the middle with an Impact weapon until it wakes. |
| 14 | White Tree Guardian | 1200 | 45 | 1307 | Slash | Knight's Encampment shortcut: hidden wall in the bushes on the right, through the Trident Key door to the inner door with five key slots; the guardian waits behind it. |